How to Configure OneLogin SSO for Mokkup Enterprise
Adding and Configuring the App in OneLogin
-
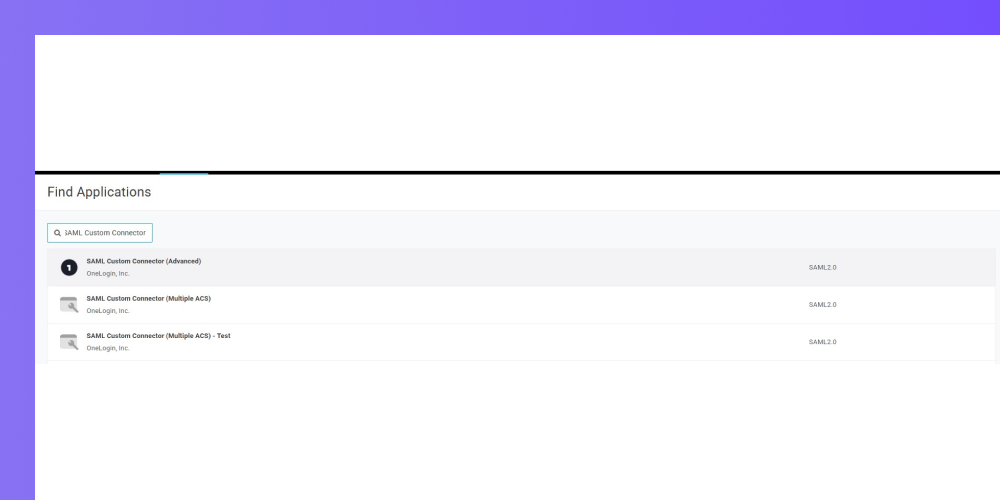
Go to the Apps catalogue and try to find SAML Custom Connector (Advanced) and click on it.
-
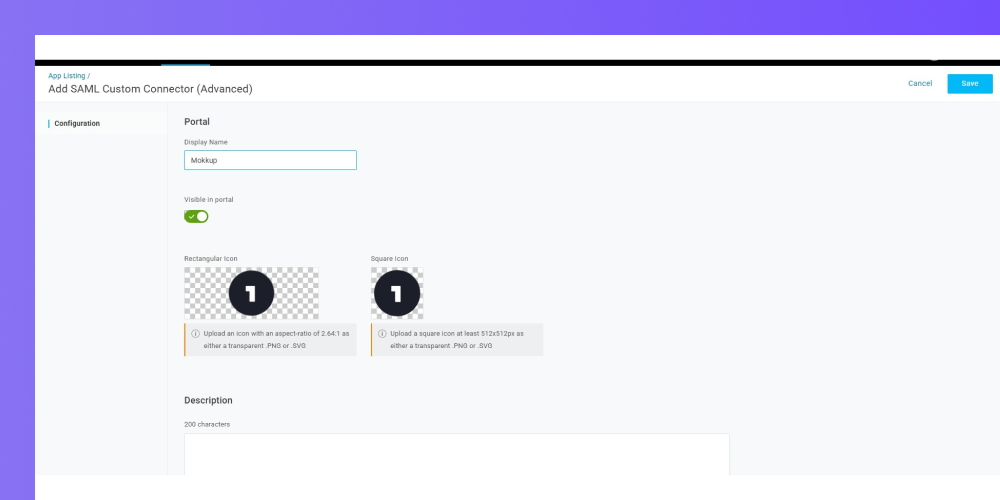
Now give the name and save the application.

-
Go to the Configuration tab.
-
Set value in Audience (EntityID) and ACS (Consumer) URL
-
-
- Audience (EntityID) :- https://mokkup.ai/
- ACS (Consumer) URL :- https://api.mokkup.ai/v1/authservices/auth/sso/saml
-
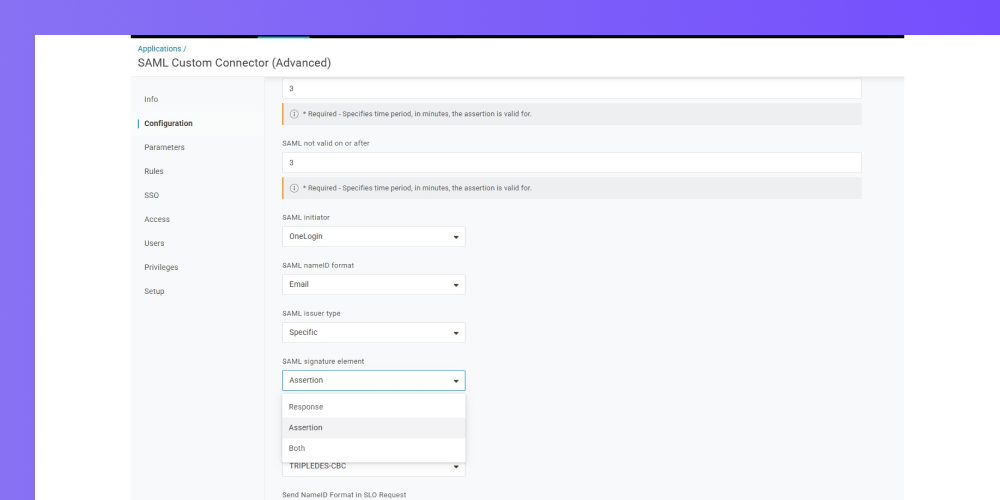
Scroll down to bottom, there need to change value of SAML signature element to Assertions and click on save.
-
-
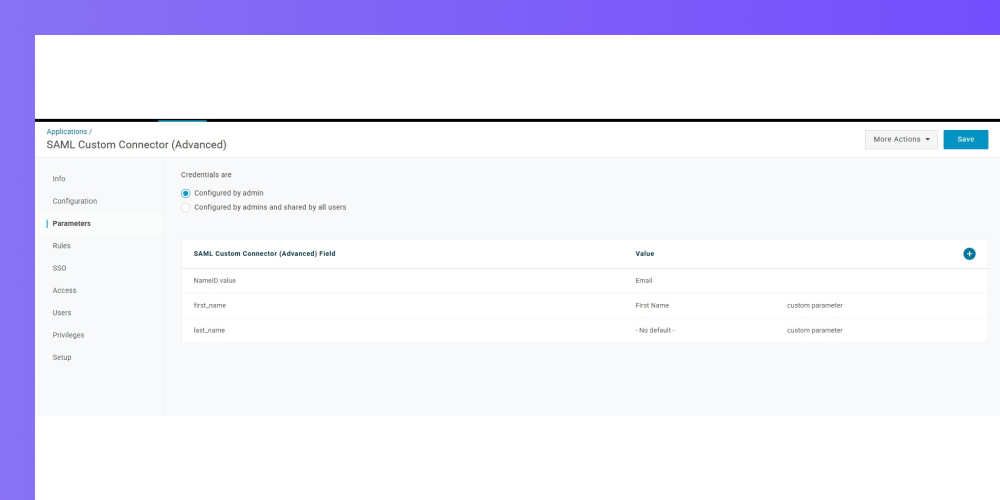
Go to the Parameters and set required parameters and save the data.
-
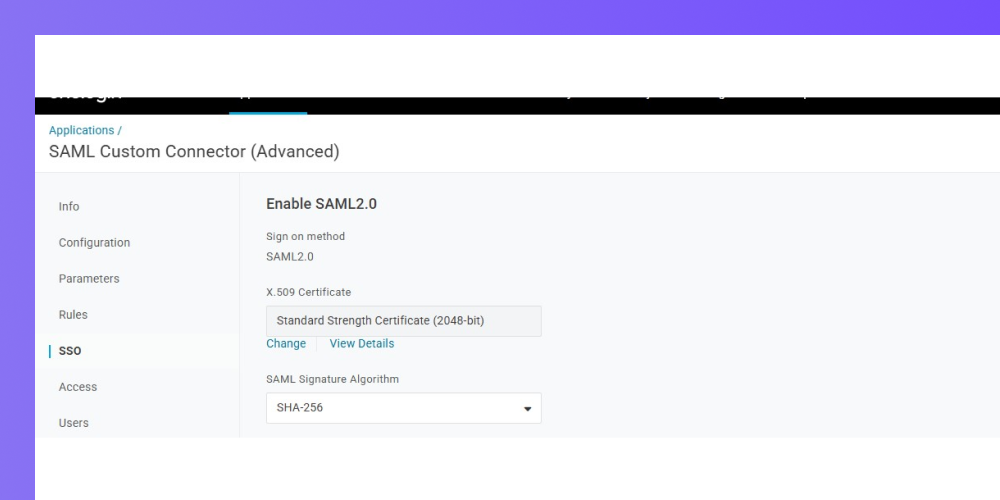
Go to SSO and change the value of SAML Signature Algorithm value from SHA-1 to SHA-256 and save the change.
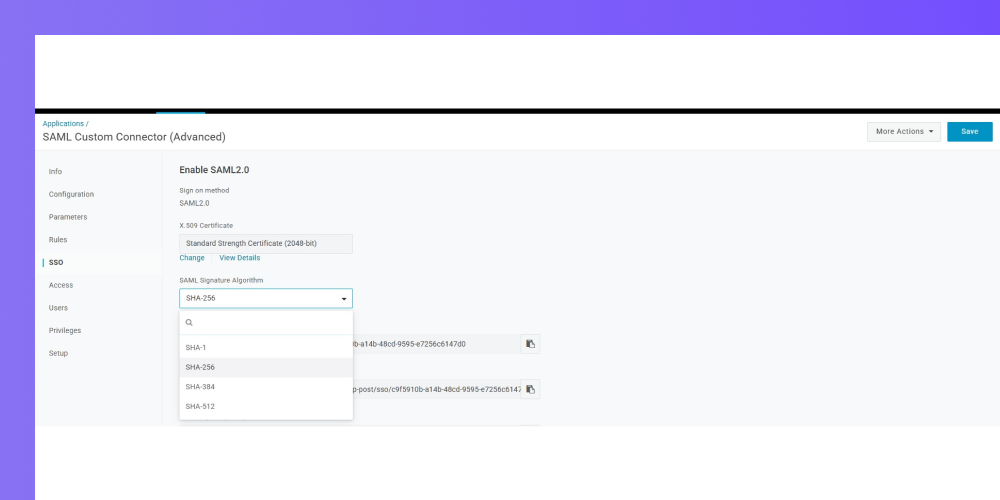
-
Click on Save.
Configuring SSO in Mokkup Enterprise
-
After saving the configuration you will be directed straight to the application settings. Switch to the SSO tab to get your Login URL and x509 Certificate.
-
Below you will see a list of URLs. Copy SAML 2.0 Endpoint (HTTP) URL and and paste it to Mokkup SAML Sign-In URL field.
-
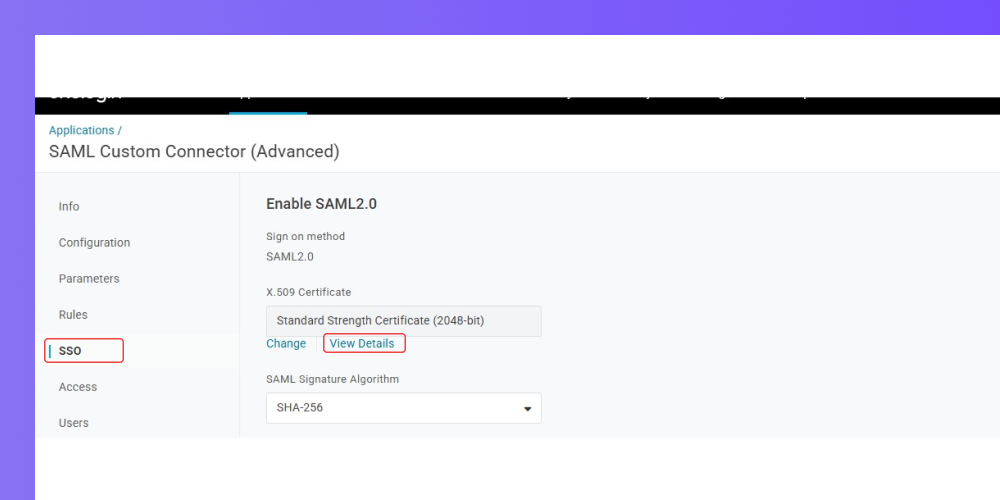
Go back to OneLogin application SSO tab and click View Details to copy the x509 Certificate. Paste the certificate to the Mokkup x509 Certificate field.
-
In the Mokkup Admin > Enterprise > SSO page, Users from these domains will sign in using SSO section, ensure that you add at least one company domain.
-
Click Test & Save Configuration.
Your SSO configuration is now complete