How to Configure OKTA SSO for Mokkup Enterprise
Adding and Configuring the App in OKTA
-
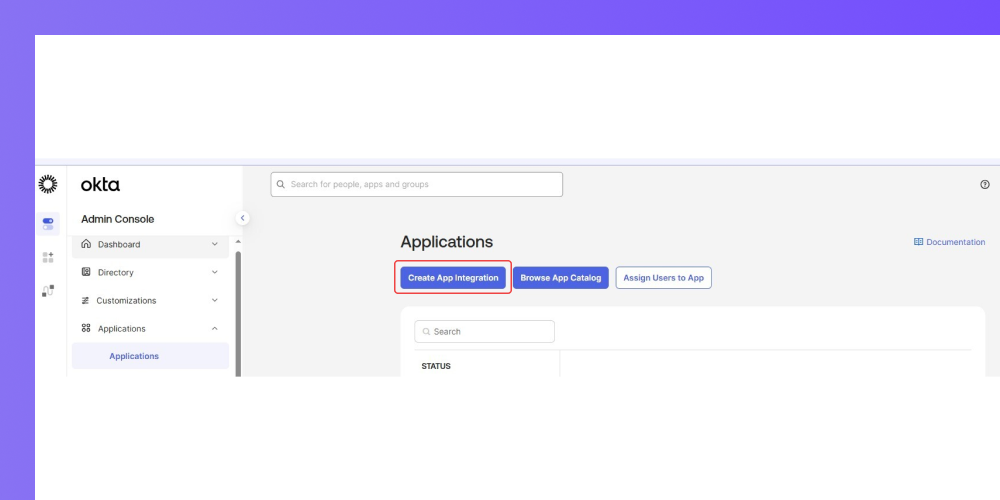
Click the Applications tab and choose to Create App Integration:
-
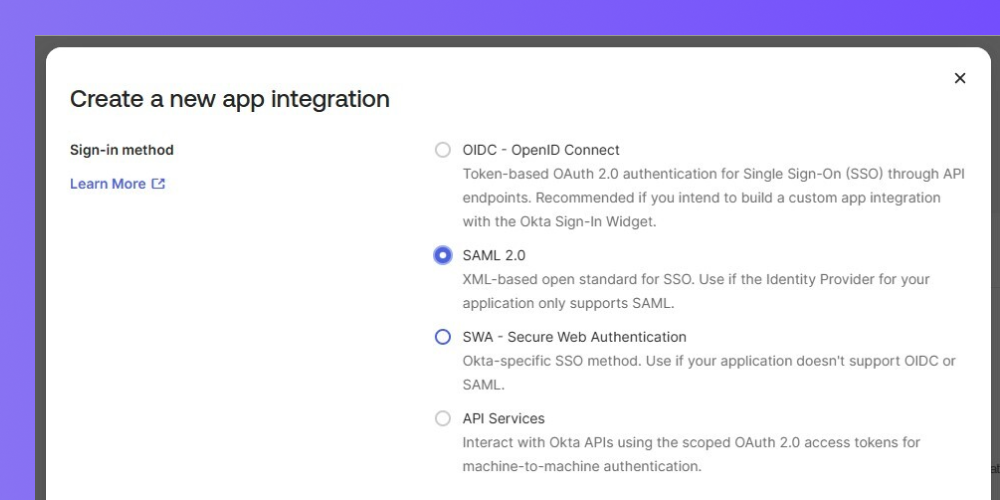
Choose SAML 2.0 and click on NEXT
-
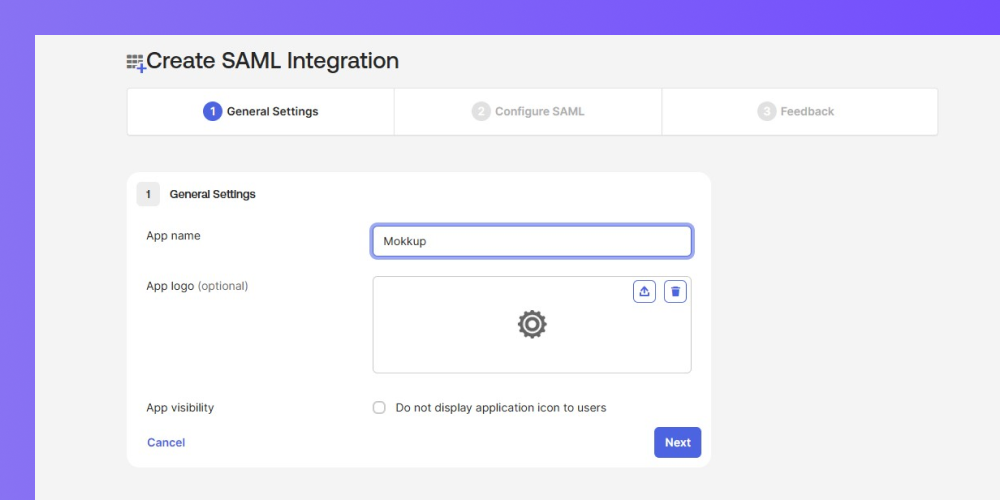
Give the app in your gallery the label you prefer (other steps are optional) and click Next to switch to the Configure SAML options tab.
-
In the Configure SAML Options fillup the following values.
-
- Audience URI (SP Entity ID) :- https://mokkup.ai/
- Single sign-on URL:- https://api.mokkup.ai/v1/authservices/auth/sso/saml
- Default RelayState: Must be empty
- Name ID format: EmailAddress
- Application username: EMAIL

-
Then click on next and click finish. Then you can see page like this:
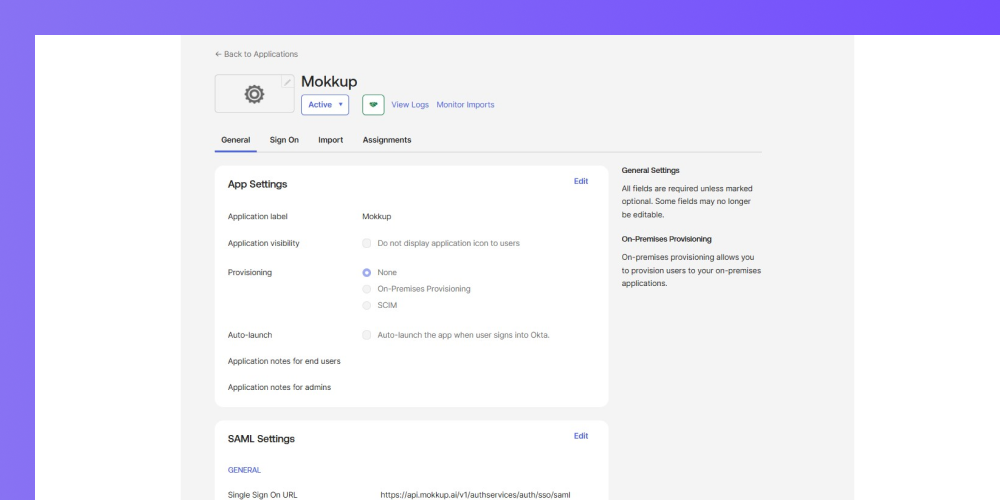
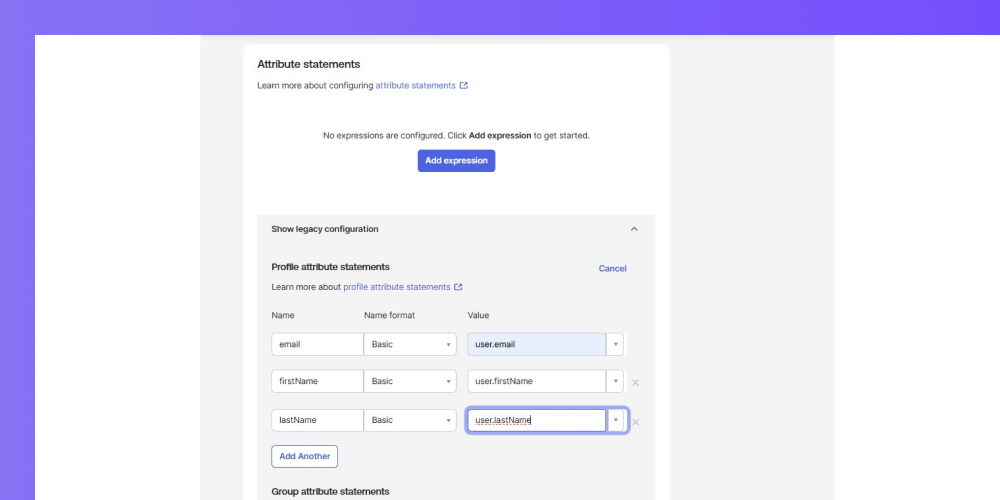
- Then click on Sign On option and scroll down you will get Attribute statements option add attributes which are showing in image and click on save:
Configuring SSO in Mokkup Enterprise
-
Open an Incognito tab in your browser and log into the Mokkup dashboard.
-
Go to Admin > Enterprise > SSO.
-
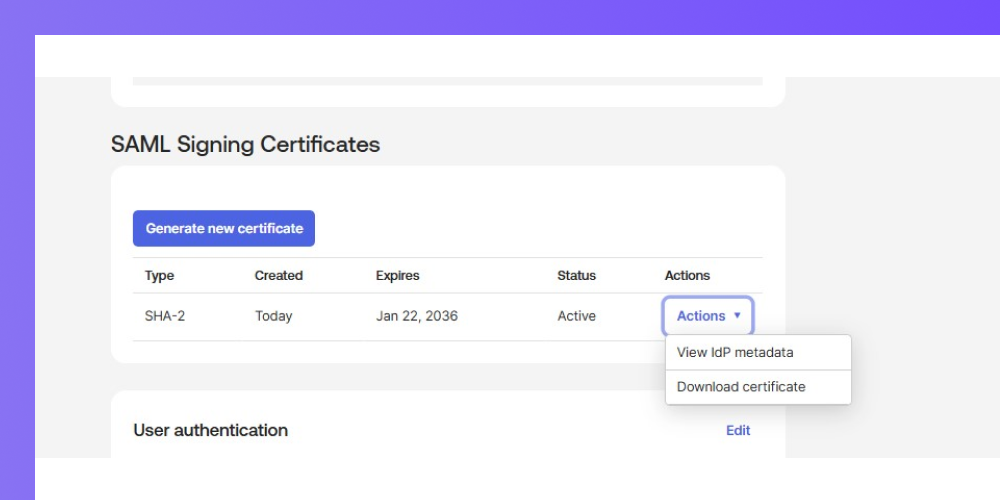
For the SAML Sign-in URL, return to your OKTA Console and within the app, go to Sign On tab and scroll down to SAML Signing Certificates to get the IDP metadata. If you do not have any issued certificates, first create one.
-
Get the IdP metadata from by clicking on the "Actions" button.
-
You will be directed to a separate tab that contains all the information. Copy the certificate from the line starting with <ds:X509Certificate> and paste it to Mokkup SSO Settings in Key x509 Certificate field.
-
Go back to the metadata page and copy the URL from SingleSignOnService line after Location= and paste it to SAML Sign-in URL.
-
In the Mokkup Admin > Enterprise > SSO page, on the Users from these domains will sign in using SSO section, ensure that you add at least one company domain.
-
Click Test & Save Configuration.
Your SSO configuration is now complete.