

How to Configure Auth0 SSO for Mokkup Enterprise
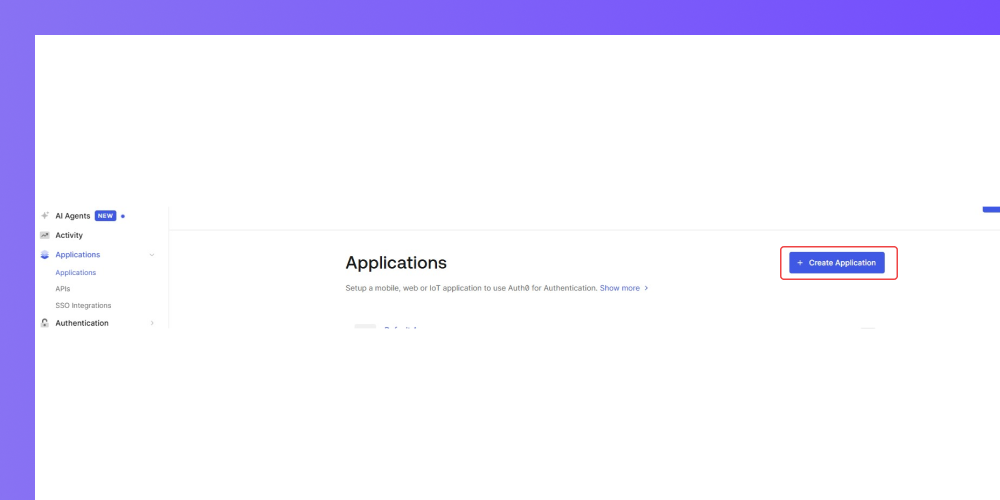
Adding and Configuring the App in Auth0
-
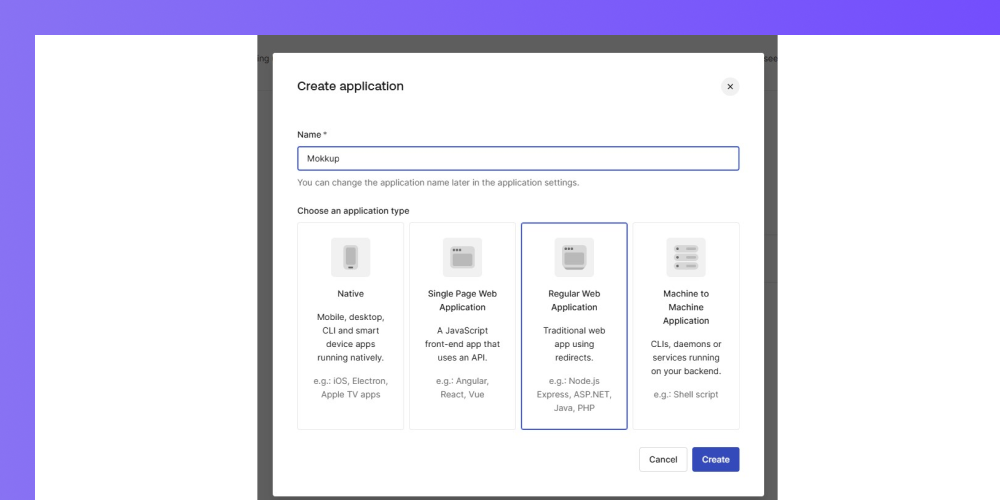
Select Regular Web Applications application type.
-
Select Regular Web Applications application type and create the application.
-
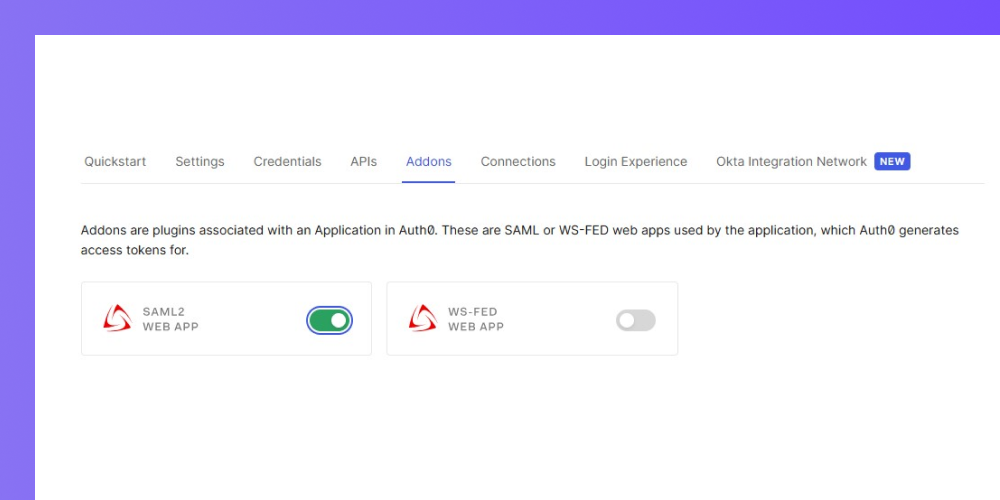
Head over to the Addons tab and on the SAML2 WEB APP.
-
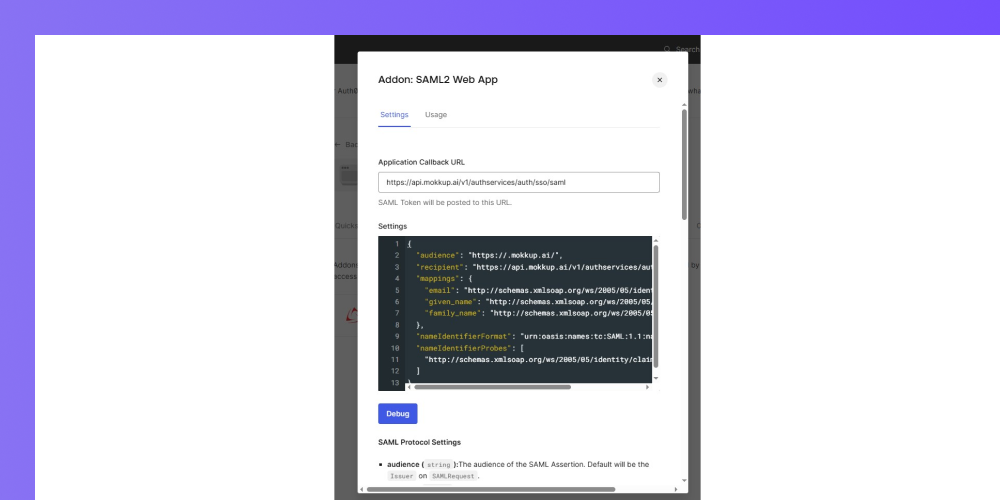
You will see a pop-up window with the request settings and Application Callback URL
-
The request Settings should be set to the following:
{
"audience": "https://.mokkup.ai/",
"recipient": "https://api.mokkup.ai/v1/authservices/auth/sso/saml",
"mappings": {
"email": "http://schemas.xmlsoap.org/ws/2005/05/identity/claims/emailaddress",
"given_name": "http://schemas.xmlsoap.org/ws/2005/05/identity/claims/givenname",
"family_name": "http://schemas.xmlsoap.org/ws/2005/05/identity/claims/surname"
},
"nameIdentifierFormat": "urn:oasis:names:tc:SAML:1.1:nameid-format:emailAddress",
"nameIdentifierProbes": [
"http://schemas.xmlsoap.org/ws/2005/05/identity/claims/emailaddress"
]
}
-
Application Callback URL
-
https://api.mokkup.ai/v1/authservices/auth/sso/saml
-
Click Save.
Configuring SSO in Mokkup Enterprise
-
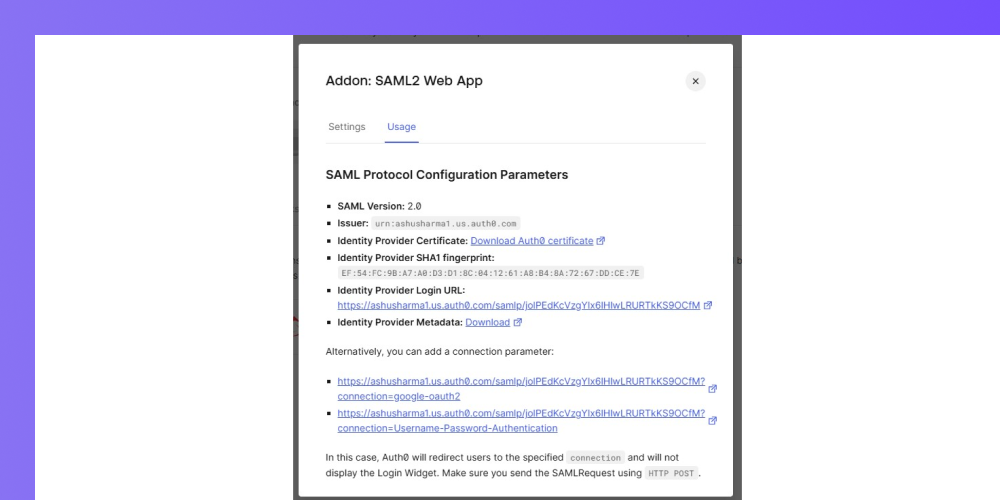
Go back to the Auth0 application configuration page and choose the Addons tab and the SAML2 addon and You will see a pop-up window.
-
Download Identity Provider Metadata file. And copy <X509Certificate> and paste under mokkup Admin > Enterprise > SSO, paste the copied x509 certificate into the Key x509 certificate box.
-
And copy Identity Provider Login Url and past into mokkup Admin > Enterprise > SSO, paste into the SAML Sign-In Url box.
-
In the Mokkup Admin > Enterprise > SSO page, on the Users from these domains will sign in using SSO section, ensure that you add at least one company domain.
-
Click Test & Save Configuration.
Your SSO configuration is now complete.